

As of February 1, 2024 we have one pregnant goat and up to five pregnant sheep and it’s the time of year where babies start hitting the ground.
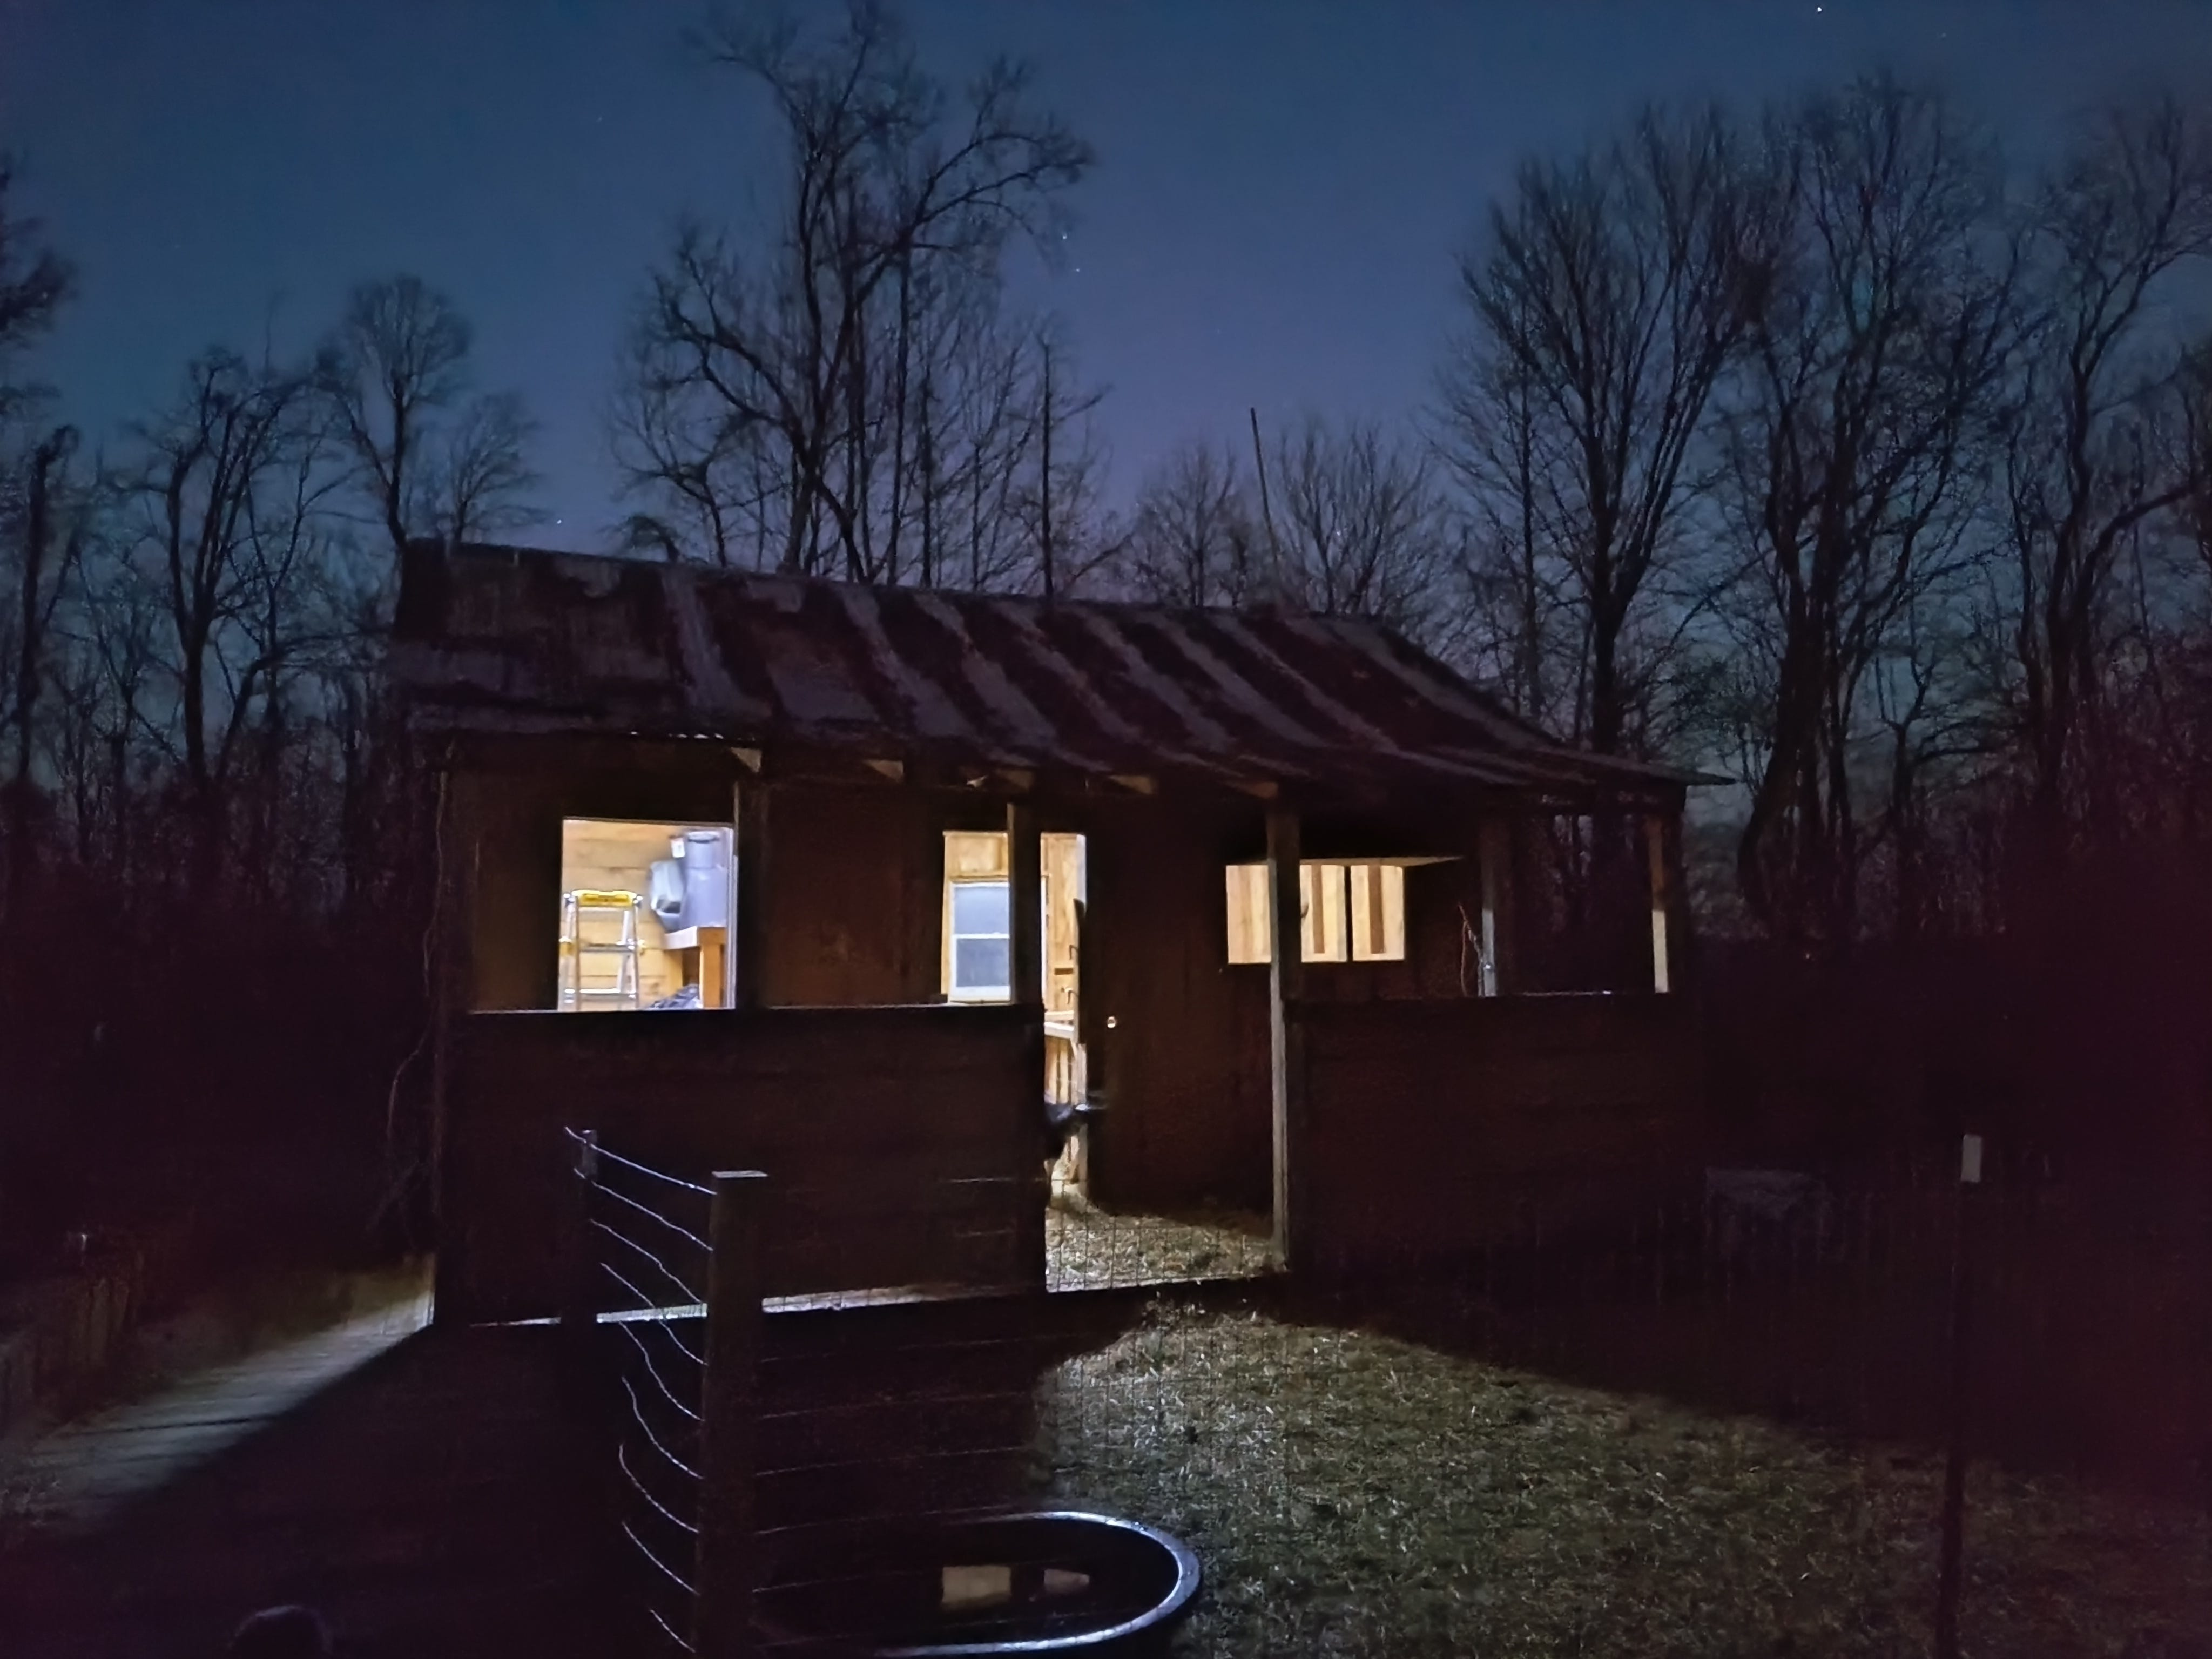
When we think somebody is close to giving birth, or recently has given birth while we weren’t looking, she and her baby/babies get moved over into the aptly named “mama-baby pasture.” This pasture features the hunter’s shack which we retrofitted into a barn with stalls where new mamas and their babies can be safe and guaranteed access to plenty of nutrient-dense feed and subjected to mandatory twice daily (at least) snuggles.
The hunter’s shack used to be grid-connected decades ago when it was the only habitable structure on the farm. But it was disconnected long ago and we didn’t trust the existing wiring since much of it had been chewed and degraded by critters that had made nests in the walls.
We have been wanting power in the barn for a few years now - mainly just to run some lights and a ventilation fan during the hot part of the year. The master plan for our property has been continuously evolving but has always included extending power and water to the barn. But roll-out of the master plan is slow and always subject to revisions and reshuffling of priorities, so the barn has remained without utilities.
Recently I did a couple of podcast interviews that delved into the creative things that can be done with solar on a small budget and in a very DIY fashion. One of those interviews was with Alexis Zeigler of Living Energy Farm in central Virginia:
The other podcast was with Kris de Decker of Low Tech Magazine. In fact, Low Tech Magazine’s whole website runs off of a solar panel on Kris’ balcony in Barcelona, Spain!
Both those podcasts will be up soon on our podcast page.
Inspired by my conversations with Alexis and Kris, as well as Low Tech Mag’s recently published user-friendly guide to setting up inexpensive off-grid solar power systems, I thought I’d try my hand at designing a simple lighting system for our barn.
My criteria for this small project were that it would be (1) low-cost, (2) fairly simple and quick to set up and install (since I don’t have a lot of time to devote to this project right now), and (3) I could get the components quickly and do the install soon (since any day now we are going have new goat and sheep babies and we’ll need those barn lights!).
So I went to the good ol’ amazon-dot-com and ordered the following components for my quick-n-dirty install:


My order with tax came to about $115 - so, not terribly expensive.
A quick tech note on sizing components of the system
Just two simple formulas are needed to determine the size of battery and solar power needed for this system:
power (Watts) = volts x amps
energy (Watt-hours) = power (Watts) x time (hours)
The roll of LED lighting strip is 5 m (a little under 16 1/2 feet) long - long enough to reach from the feed room (which we also wanted to light) through the dividing wall and nearly the whole way across the barn interior. It draws 60 Watts of power.
How long do we want to run the barn lights at night?
Typically, we expect to just use the lights for a few minutes, one or a few times per night - say, when we go in to feed in the evening and early morning, or to check on mamas and babies throughout the night, etc. So I designed the system to reliably provide enough energy for one hour of lighting per night. Typically we will use much less energy than this. (For rare instances where we might use a few to several hours of lighting at night I have added a note below.)
To run a 60 Watt light strip for 1 hour —> 60 W x 1 hr = 60 W-hrs of energy needed
To select a (lead-acid) battery to provide 60 W-hrs of energy, we need to note that batteries (1) should not be discharged below 50% of their total capacity, and (2) they experience inefficiency of ~20% due to discharge losses. So to supply 60 W-hrs of energy, the battery capacity should actually be 144 W-hrs:
60W-hrs / 50% = 120 W-hrs
120 W-hrs + (20% x 120 W-hrs) = 144 W-hrs
By convention, battery capacities are given in amp-hrs, not W-hrs. Since amps = Watts/volts, a 144 W-hr battery operating at 12 volts corresponds to 12 amp-hrs:
144 W-hrs / 12 volts = 12 amp-hrs
Note the battery shown above is rated at “12 Volts 12 Ah.”
Thus a 12 V, 12 amp-hr (lead-acid) battery should be able to supply 1 hour of lighting that draws 60 Watts of power without over-discharging (and thus damaging) the battery.
OK what about sizing the solar panel to reliably recharge our battery?
Since the battery should not be discharged below 50% (and thus should just need to be topped up from half-empty rather than charged all the way from zero), we need a daily energy input from the solar panel of 144 W-hrs / 2 = 72 W-hrs.
And since we are mostly concerned with using our lighting system during winter (lambing and kidding season), we have to contend with shorter days and days that are often partly overcast.
The solar panel shown above is rated at 25 Watts - which is the max power it produces under direct full sun. Considering some clouds and shade from nearby trees and indirect sun, I assumed the solar panel would often produce at about half-power, or 12.5 Watts.
So the question is, if the solar panel is running at 12.5 Watts, how long will it take to put 72 W-hrs of energy back into the battery during a typical day?
72 W-hrs / 12.5 W = 5.76 hours
So for a winter day with partial clouds and shade, this solar panel should be enough to top up our battery from a 50% discharge in just under 6 hours. That sounds reasonable to me!
For more info and variations for sizing and configuring solar panels / batteries / appliances, see the helpful guide at Low Tech Magazine!
OK - but what if a mama or baby is having trouble and we need to be working with them in the barn at night for >1 hr?
We have several 12 V batteries on the farm similar to the one shown above. We use these to energize electric fencing during the rotational grazing season (April - December). If we need lighting for a few to several hours at night I can splice one or more additional batteries into the system. We anticipate (hope!) the need for this would be very rare so we decided not to build in additional capacity into our system. The battery/batteries are typically the most costly part of off-grid solar systems, so finding ways to reduce the need for energy storage provides a lot of savings!
Installation…
Remember - I said we needed this quick and I didn’t have a lot of time to do it. So the slapped-together look is intentional. Part of our make-do aesthetic here at Magpie Hollow…
Light Fixture
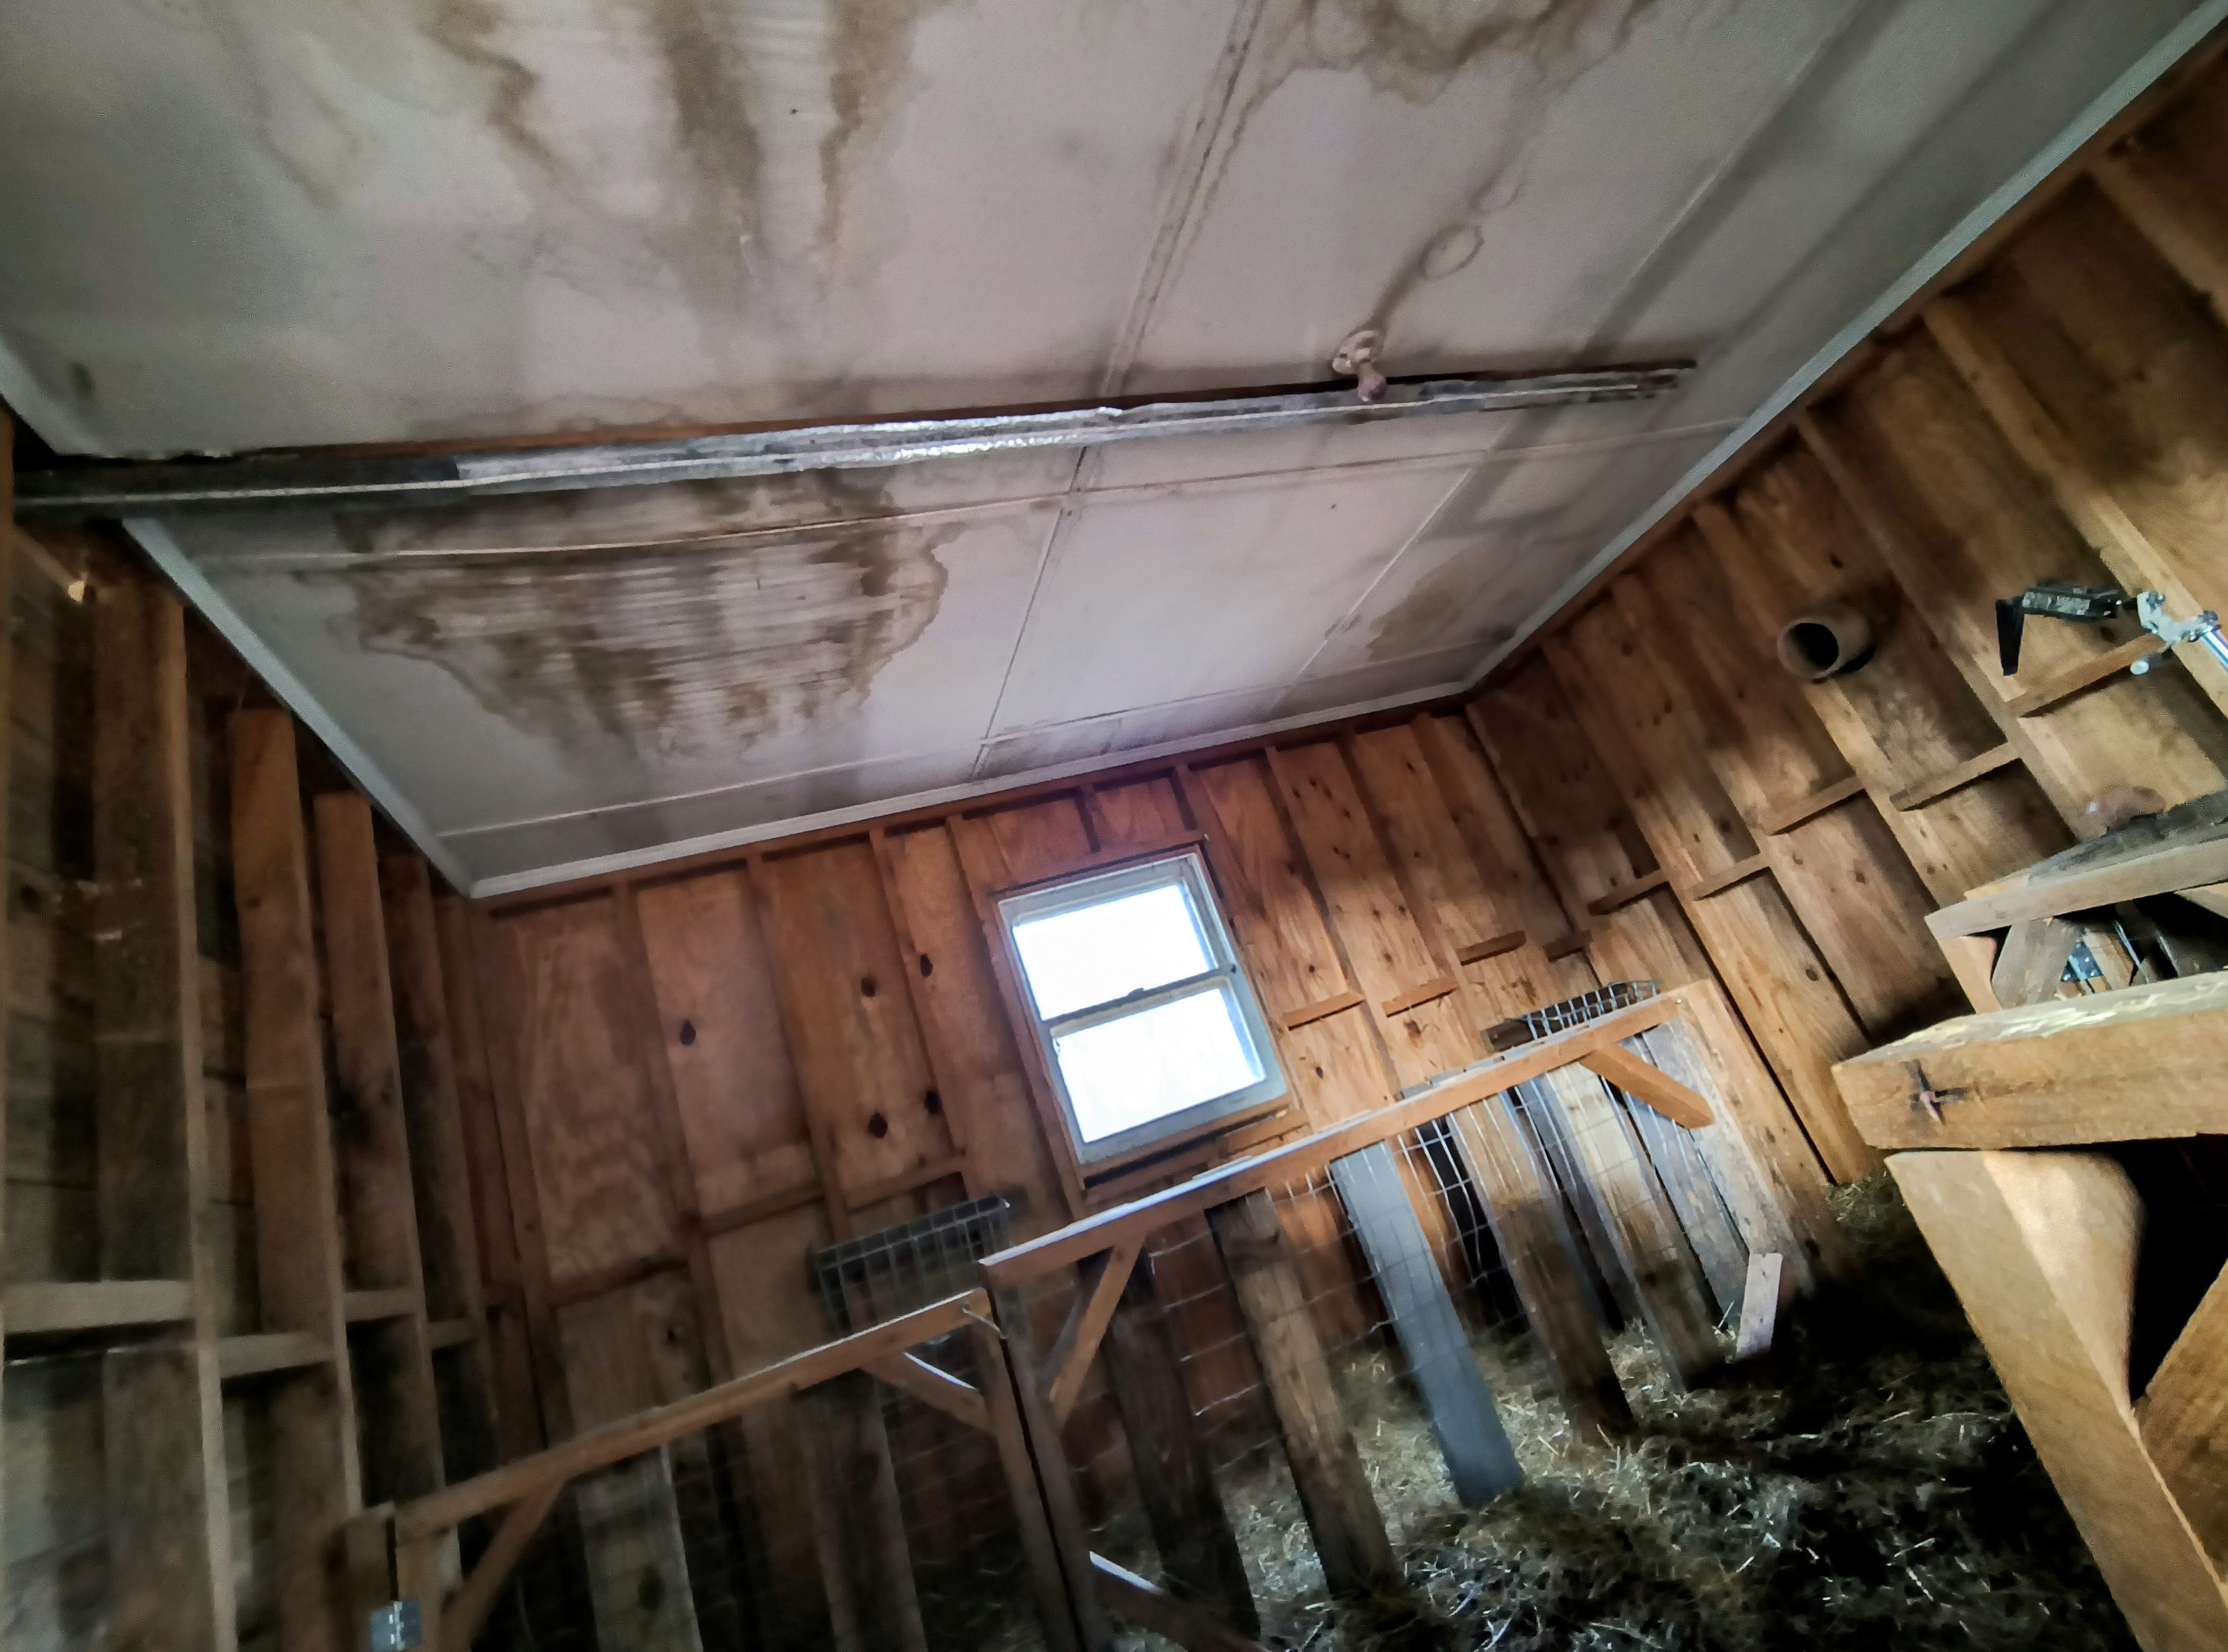
The LED strip is peel-and-stick - so I needed a smooth and (ideally) reflective surface to attach to. I mounted a length of scrap of 1”x4” to the ceiling and staple-gunned strips cut from old galvanized tin roof paneling for a smooth and reflective surface.

Solar panel mount
I used some scraps of metal strapping and ~18” long piece of 2”x10” left over from deck stair treading to mount the panel on the roof of the barn.

I thought about making an adjustable mounting system so that I can always have the solar panel angled correctly for our latitude, time of year, declination, azimuth… all that scientific stuff.
But - that would take more time than I had for this project and may not gain us a whole lot since the panel probably has plenty of capacity to supply the energy we need under typical use conditions even if not oriented optimally.
Plus - with this low-profile mounting it is hopefully more secure from storm/winds than if it were mounted up on some kind of frame. Put another way - an adjustable mounting frame for optimal sun exposure would have to be very well built to withstand storm damage. A frame like that would probably cost more than, and possibly a lot more than, the whole rest of the system. But for only $36 I could slap a second panel on there and double the output. Ya dig?
Control module

I slapped together this little shelf by the entry to the feed room out of stuff I had lying around. I mounted the charge controller on the feed room wall - notice I didn’t pound the nails in all the way. Maybe I will want to move things around later, or make some nice housing for the components. Maybe someday.
Wires shown are coming down from the solar panel on the roof and connecting to positive and negative leads on the left side of the charge controller. The battery connects to the middle two leads, and the right two leads send power out to the LED strip. I ran the positive wire out from the charge controller down to the existing wall switch (left over from the hunter’s shack’s former grid connected electric system) and then up to the LED strip - so we use the old light switch just like normal but without risk of burning down the barn in an electrical fire! Groovy!
You can see I was very careful to make everything neat and clean, dress the wires, etc. NOT!
Once all the components had arrived by truck from the ol’ amazon-dot-com I did the whole install in an afternoon. That included the obligatory forehead-slap-trip to my local Big Box hardware store (dang it!) to get a box of wire nuts and pack of those little white nail-staples shown in the photo used to pin the wires up on the walls.
Now when the sun goes down we can have a dance party with the goats!